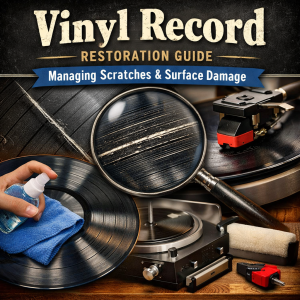

Vinyl records are more than just a music format — they’re an experience. But over time, dust, fingerprints, static, and debris settle deep into the grooves. This buildup can cause pops, crackles, distortion, and even permanent damage. The good news? With proper cleaning, you can restore clarity, extend lifespan, and protect your collection.
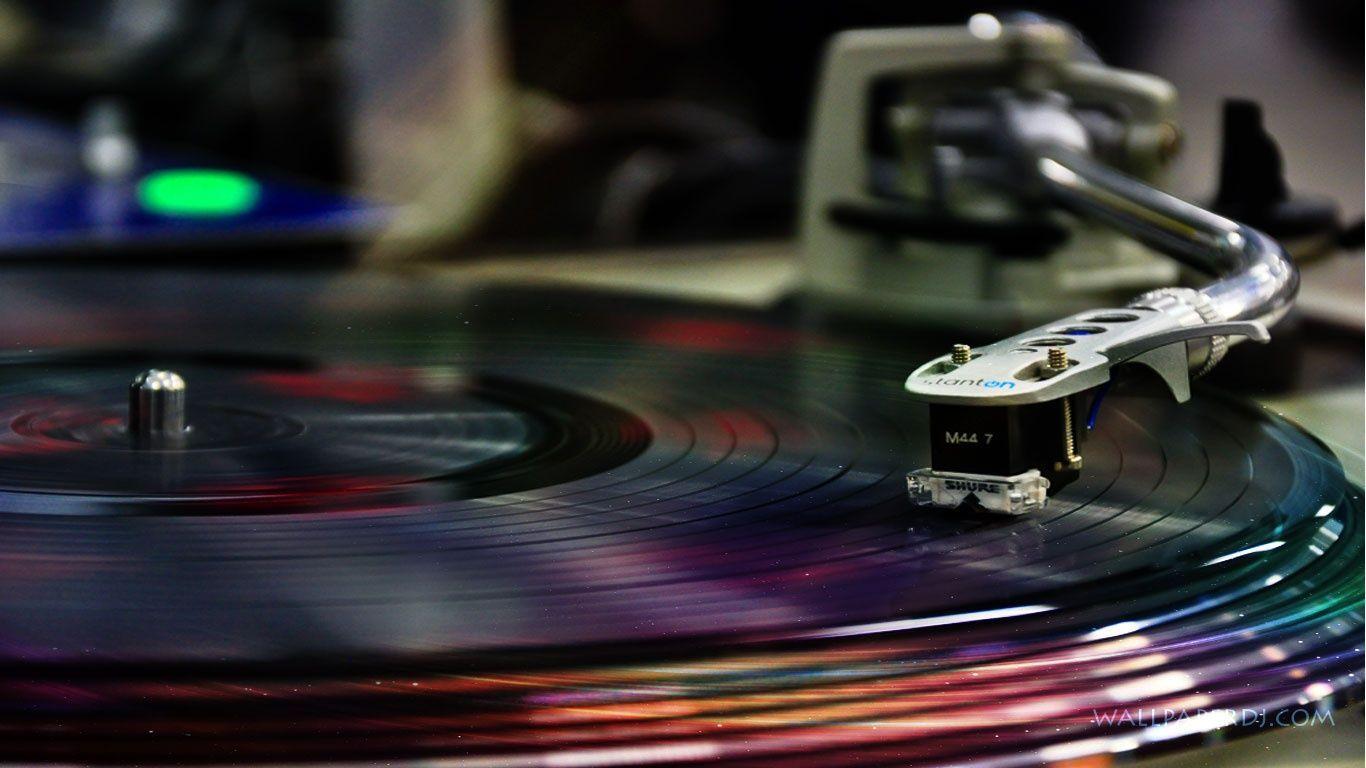
Every vinyl record contains microscopic grooves that hold delicate sound information. Even tiny dust particles can interfere with playback. Regular cleaning:
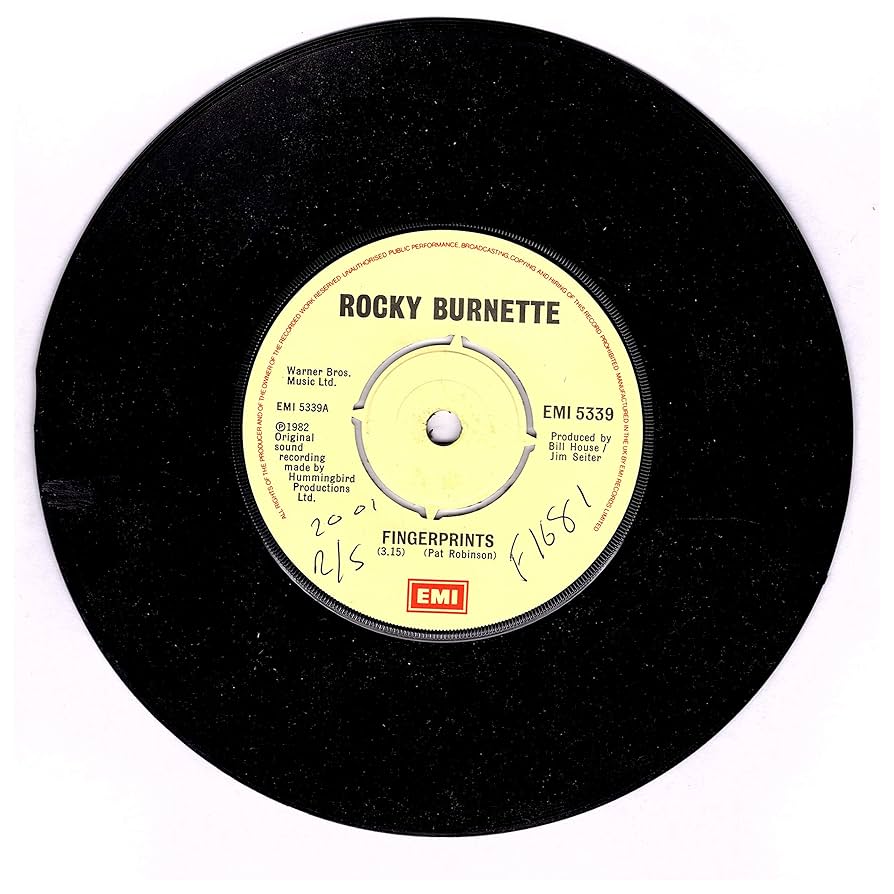
Use a carbon fiber brush to gently remove surface dust. Hold the brush lightly on the spinning record and let the fibers pull dust from the grooves.
Lightly spray or apply a vinyl-safe cleaning solution to the surface. Do not soak the label.
Using a microfiber cloth, wipe gently following the grooves (never across them). This prevents scratches.
If needed, lightly rinse with distilled water to remove residue.
Allow the record to air dry completely before placing it back in its sleeve.